Blog Layout

Preparing Your Long Island HVAC System for Winter: A Home Owner's Guide

Sarah Pisano • October 31, 2024

How to Properly Transition from AC to Heat, from the Long Island HVAC Experts

As the warm summer months fade and cooler temperatures approach on Long Island, homeowners need to make an important transition—from cooling to heating. Proper preparation of your HVAC system in the fall can ensure your home stays warm and comfortable all winter long, while also extending the lifespan of your system and keeping energy costs under control. In this blog, we’ll guide you through essential fall and winter HVAC maintenance steps, including correctly shutting down the air conditioning system, cleaning your ducts, and preparing your heating system for the months ahead.

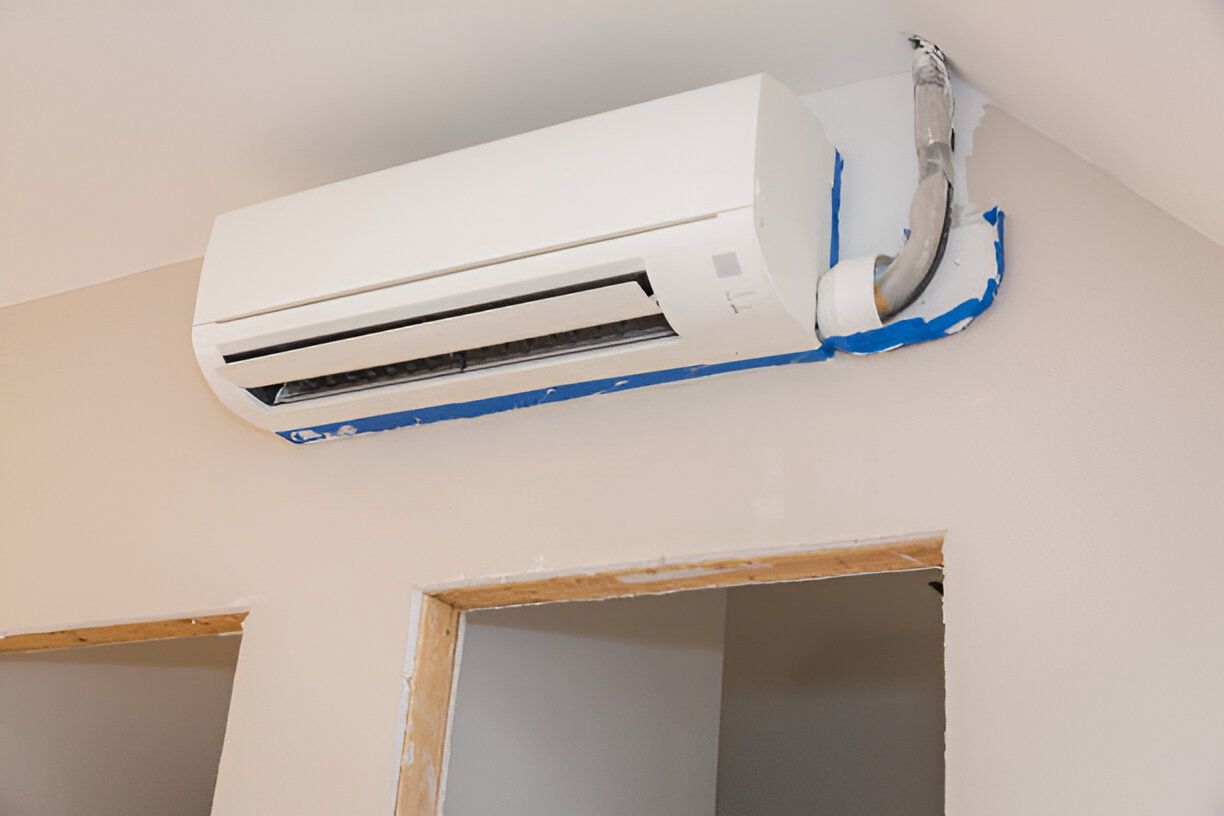
1. Preparing Your AC for Winter

As the cooler months approach, preparing your air conditioning system for winter is an essential step in maintaining its longevity. For most homeowners, it’s as simple as switching the thermostat from cooling to heating mode. This ensures that your AC won’t kick on unexpectedly during fall or winter when you no longer need it.


However, for those with outdoor condenser units, taking a few extra steps can help protect the system from winter weather and extend its life.


Turn Off Power to the Outdoor Unit:

While switching your thermostat is the primary step, turning off the power to your outdoor AC unit is a good idea. This ensures the condenser won’t accidentally run on an unusually warm day or if the thermostat is bumped. You can do this by locating the “AC disconnect box” near the condenser and flipping the switch there or on the breaker inside to cut off power.


Clean and Cover the Condenser:

Throughout the summer, debris like leaves, dirt, and grass clippings can accumulate around the outdoor unit. Use a hose to gently clean it, allowing it to dry completely before covering it with a breathable, weather-resistant cover. This will protect the unit from harsh winter conditions, such as ice and snow, which can cause rust and other damage.


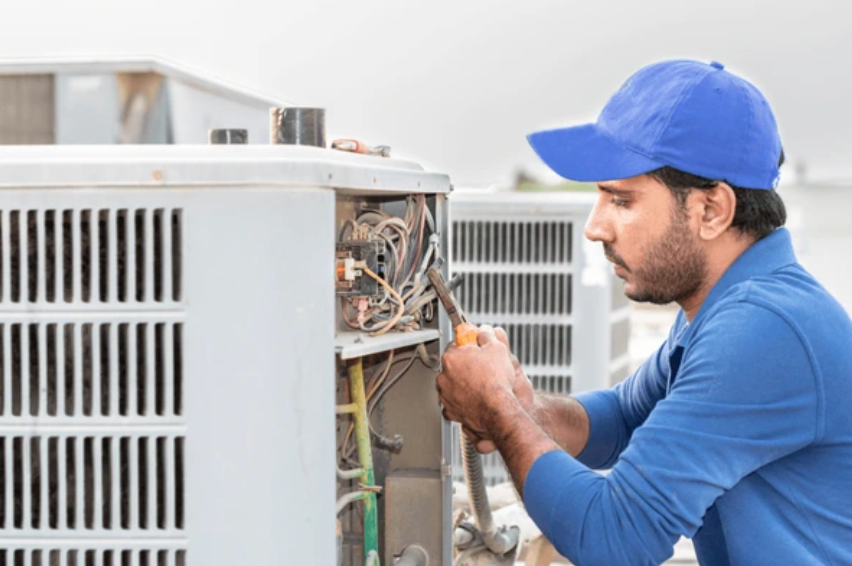
Inspect the Unit for Wear:

Fall is also a great time to inspect the condenser for any visible damage, such as bent fins or loose connections. Addressing these issues now will ensure the unit is in top shape for the next cooling season.


By taking these extra steps, you can safeguard your AC system through the winter and avoid unnecessary repairs when spring rolls around.


2. Clean and Inspect Your Ductwork

As you switch from cooling to heating, your ducts will play a key role in distributing warm air throughout your home. Ensuring that they are clean and free of leaks will improve indoor air quality and prevent energy waste.


Over time, dust, dirt, pet dander, and other allergens can accumulate in your ductwork, reducing airflow and spreading contaminants into your living spaces. If you haven’t had your ducts cleaned in a few years, fall is a great time to schedule a professional cleaning. A thorough duct cleaning will remove debris and help your heating system run more efficiently.


While you're inspecting your ducts, look for any visible signs of damage or leaks. Sealing these leaks can prevent warm air from escaping into unnecessary spaces like attics or basements, helping your system work more efficiently and saving you money on your heating bills.


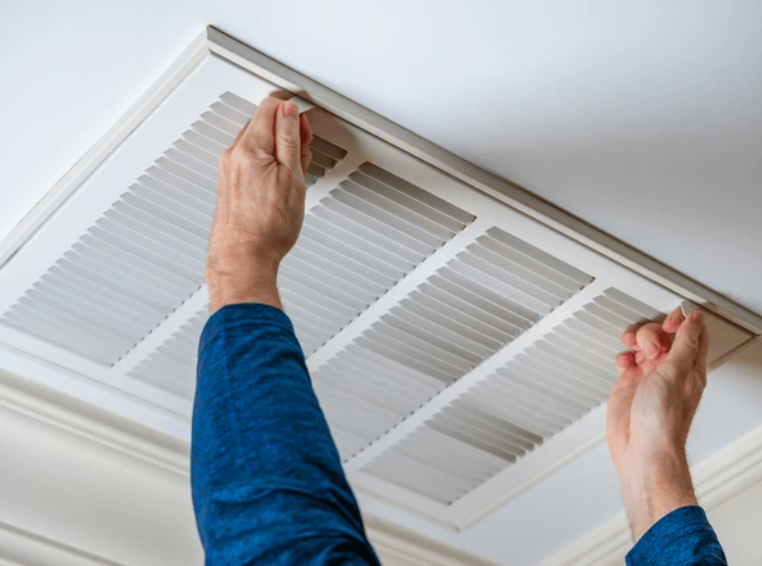
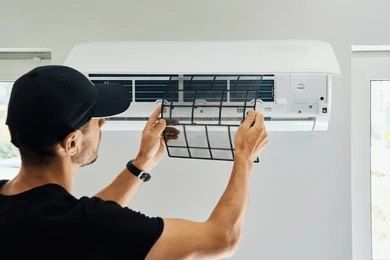
3. Replace Air Filters

Before the colder months settle in, it’s essential to replace the air filters in your HVAC system. Air filters trap dust, dirt, and other particles, ensuring clean air circulates through your home. Dirty filters can obstruct airflow, forcing your heating system to work harder, which reduces efficiency and raises energy costs.


For optimal performance, it’s recommended to check and replace your filters at least every 3 months, especially during the fall and winter when your system is working hard to keep your home warm. A clean filter will help maintain indoor air quality and prevent strain on your HVAC system.


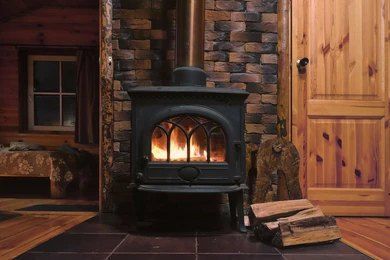
4. Inspect the Heat Exchanger

The heat exchanger is one of the most critical components of your furnace, responsible for heating the air that is then circulated throughout your home. However, over time, the heat exchanger can develop cracks or other damage, which can be dangerous, as these cracks may allow carbon monoxide to leak into your home.


Before winter arrives, it’s essential to have a professional HVAC technician inspect your heat exchanger for any signs of wear or damage. A cracked heat exchanger should never be ignored, as carbon monoxide is a colorless, odorless gas that can pose serious health risks to your family. By addressing any issues before the heating season begins, you can ensure that your system is safe and efficient.


5. Test Your Thermostat

Fall is the perfect time to test your thermostat and ensure it’s functioning properly. If you’ve been using your thermostat primarily for air conditioning during the summer, you’ll want to switch it to heating mode and test how well it responds. Set the temperature a few degrees higher than the current room temperature to ensure that the furnace kicks on as it should.


If your thermostat is outdated, consider upgrading to a programmable or smart thermostat. These devices allow you to set temperature schedules based on your daily routines, which can save energy and reduce heating costs during the winter.


6. Check Carbon Monoxide Detectors

As you prepare your heating system for the colder months, don’t forget to check your home’s carbon monoxide detectors. Since your furnace or boiler burns fuel to generate heat, there is always a potential risk of carbon monoxide leaks. Properly functioning detectors are essential to keep your family safe.


Test each carbon monoxide detector to ensure it’s working, and replace the batteries if needed. It’s also a good idea to have a professional check your furnace or boiler’s ventilation system to ensure carbon monoxide is being safely vented outdoors.


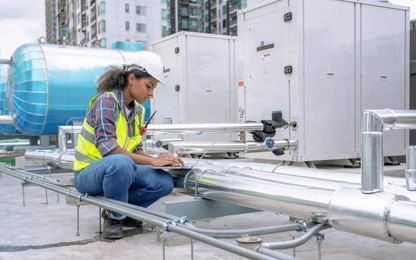
7. Schedule a Professional Heating System Tune-Up

One of the most important steps you can take to prepare for the fall and winter is scheduling a professional HVAC tune-up. During a tune-up, a technician will inspect your heating system, clean important components, check for any potential issues, and ensure the system is running at peak efficiency.


Regular maintenance helps prevent unexpected breakdowns during the coldest months, extends the life of your system, and keeps your heating costs down. It’s recommended to schedule a tune-up at least once a year, ideally in the fall before the heating season begins in full force.


By following these fall and winter HVAC maintenance tips, you can ensure your system is ready to handle the colder months on Long Island. From cleaning and covering your AC to changing your filters or inspecting the heat exchanger, regular maintenance can help you avoid costly repairs, improve energy efficiency, and keep your home comfortable and safer all winter long. If you need assistance with any of these tasks, don’t hesitate to reach out to Long Island HVAC Hero for professional help and peace of mind as the seasons change.


Image of a man installing a mini split heating system at a Long Island commercial property.
By Mark I. February 22, 2025
Get your commercial heating system winter-ready in Long Island with these essential preparation tips. Ensure efficiency, reliability, and comfort for your business.
By Mark I. January 22, 2025
Choosing the right furnace for your Long Island home is essential for comfort and energy efficiency. Learn what factors to consider, tips for selecting the best furnace, and how our expert team at Long Island HVAC Hero can help.
By Mark I. January 22, 2025
Discover why annual furnace maintenance is crucial for Long Island homeowners. Learn about the benefits, cost savings, and how to ensure your system runs efficiently all year round. As temperatures drop in Long Island, your furnace becomes the heart of your home’s comfort. But have you ever thought about how well it’s functioning? Annual furnace maintenance might not be at the top of your to-do list, but it’s a critical step to ensure your heating system operates efficiently, safely, and reliably during the chilly months. In this blog, we’ll explore the significance of scheduling annual furnace maintenance, the benefits it offers, and what you can expect during a professional tune-up. By the end, you’ll understand why investing in regular maintenance is a smart decision for every homeowner in Long Island.
By Sarah Pisano November 13, 2024
Ductless mini split systems are gaining popularity among homeowners looking for efficient, flexible, and cost-effective heating and cooling solutions. With easy installation and the ability to control temperatures in specific zones, these systems are a versatile alternative to traditional HVAC setups. This guide will explore everything you need to know about ductless mini splits, their benefits, installation process, and maintenance. What is a Ductless Mini Split System? A ductless mini split system, also known as a ductless heat pump or split air conditioner, provides heating and cooling without requiring air ducts. Unlike central HVAC systems, these units consist of an outdoor compressor unit and one or more indoor air-handling units connected by refrigerant lines. This design allows each indoor unit to be controlled independently, creating a "zoned" HVAC system. How Does Ductless Heating and Cooling Work? Ductless systems work by transferring heat between the indoor and outdoor units: Cooling Mode : In summer, the system absorbs warm air from inside the house and transfers it outside, leaving cooler air indoors. Heating Mode : In winter, it reverses this process, drawing in heat from outside and circulating it indoors, even in colder temperatures. These systems offer an energy-efficient way to heat or cool specific rooms, providing year-round comfort with minimal energy consumption. Benefits of Ductless Mini Split Installation Installing a ductless mini split system can transform your home’s comfort and energy efficiency. Here’s a closer look at some key advantages: 1. Energy Efficiency Ductless systems reduce energy loss since they operate without air ducts, which can leak up to 30% of heated or cooled air in traditional systems. Mini splits also use inverter technology to adjust the compressor speed according to the room’s needs, avoiding energy waste. 2. Flexible Temperature Control With the ability to create "zones," each room can have its own temperature settings, eliminating temperature inconsistencies. Ideal for homes with areas that are hard to heat or cool, such as garages, basements, or home additions. 3. Easy Installation Process Installation is quicker and less invasive, requiring only a small hole in the wall for refrigerant lines. Since no ductwork is involved, the process is much simpler and minimizes disruptions to your home. 4. Cost Savings Over Time Although the upfront cost of a mini split system can be higher than traditional HVAC systems, homeowners often see long-term savings through reduced energy bills. Many ductless systems are eligible for energy rebates, providing additional savings. Key Components of a Ductless Mini Split System Understanding the parts of a ductless system can help homeowners know what to expect from installation and how to maintain the unit. Here are the main components: Outdoor Compressor : The outdoor unit compresses and circulates refrigerant to create hot or cold air. Indoor Air Handlers : These wall-mounted units distribute air throughout the space. Each unit has its own remote or thermostat for personalized control. Refrigerant Lines : Copper lines carry the refrigerant between the outdoor and indoor units, allowing temperature control without ductwork. Drain Line : This component expels any condensation created during operation, ensuring that moisture doesn’t accumulate in the unit. Ductless Mini Split Installation Process When considering a ductless mini split installation, it's essential to understand the steps involved. Here’s a step-by-step guide to the typical installation process: 1. Choosing the Right Size and Location A professional HVAC technician evaluates your space to determine the system size needed for optimal performance. Ideal locations are selected for the outdoor compressor and indoor units to maximize efficiency and airflow. 2. Preparing the Installation Area The technician drills a small hole through the wall for the refrigerant lines and drain pipes, minimizing damage to the property. A sturdy mounting bracket is installed for the indoor unit, ensuring stability. 3. Connecting the Units The refrigerant lines, electrical cables, and drain line are carefully routed from the indoor unit through the hole to the outdoor compressor. Technicians test connections to ensure there are no leaks in the system. 4. Testing and Adjustments Once installed, the system undergoes a series of tests to ensure all components work as intended. Temperature settings and modes are adjusted to meet the homeowner’s needs, ensuring the system operates efficiently from day one. For homeowners on Long Island, HVAC HERO provides licensed and experienced technicians to handle every step of the installation. This ensures your system is perfectly set up to keep your home comfortable all year. Maintenance Tips for Ductless Mini Splits Regular maintenance is essential for keeping ductless heating and cooling systems running efficiently. Here are some tips to maintain your mini split system: 1. Clean the Filters Regularly Dust and dirt can accumulate in the filters, reducing airflow and efficiency. Clean filters monthly to maintain optimal performance. 2. Keep the Outdoor Unit Clear Ensure the outdoor compressor has enough clearance for ventilation. Remove any debris, leaves, or dirt that could obstruct airflow. 3. Check for Leaks Regularly inspect the refrigerant lines for any signs of leakage. Low refrigerant levels can reduce system efficiency and lead to costly repairs. 4. Schedule Professional Maintenance An annual check-up by a professional technician helps catch any issues early and keeps your unit functioning at its best. Ductless Mini Splits vs. Traditional HVAC Systems For homeowners weighing ductless mini splits against traditional HVAC systems, here are some key distinctions: Installation Complexity : Ductless systems are quicker to install as they require only a small wall hole, while traditional systems need extensive ductwork. Energy Loss : Traditional systems can lose up to 30% of energy through duct leaks, while ductless systems avoid this issue, offering higher energy efficiency. Upfront Costs : Traditional HVAC systems tend to have lower initial costs, but ductless mini splits save more in energy bills over time. Flexibility : Ductless systems offer zoning capabilities, which is not typically possible with a single-zone traditional HVAC system. When it comes to energy savings, flexibility, and ease of installation, ductless systems are an attractive choice. With ductless mini split installation by HVAC HERO , homeowners can achieve these benefits and more with expert support on Long Island. Is Ductless Mini Split Installation Right for You? Ductless mini splits are ideal for a variety of homes, especially those looking to upgrade to a more efficient, adaptable system. Homes with areas that are challenging to heat or cool, or those undergoing renovations, can particularly benefit from this system. Whether for a single room or the entire home, ductless mini splits provide customizable comfort and energy savings. For reliable ductless mini split installation and repair on Long Island, reach out to Long Island HVAC HERO . Their licensed and experienced technicians will ensure your system is installed correctly, keeping your home comfortable in every season. Frequently Asked Questions (FAQs)
More Posts
Share by: